KNIME - Installation
Installation of OpenMS in KNIME is platform-independent across Windows, MacOSX, and Linux.
Download the latest KNIME release from the KNIME website.
In the full install of KNIME skip the following installation routine since all required plugins should be installed by default. For the standard (core) installation, follow the instructions here or in the extended user-tutorial.
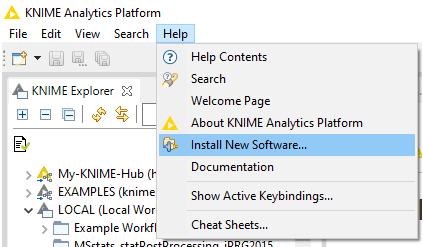
In KNIME click on Help > Install new Software.
Install the required KNIME File Handling nodes from the official KNIME Update Site (a standard entry in the update sites). Choose the update site from the Work with: dropdown menu.
Name: KNIME Analytics Platform 5.2.0 Update Site.
Filter the results for File handling and select the KNIME File Handling Nodes. Click Next and install.
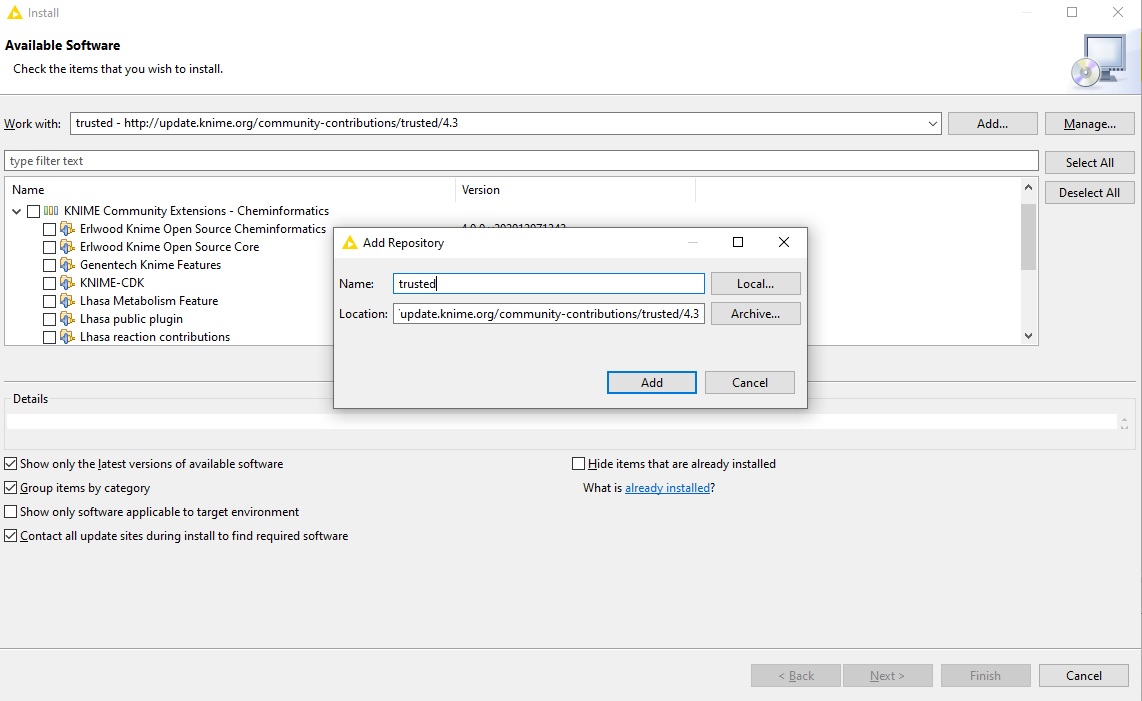
Now, install the actual OpenMS plugin. Next to the Work with: dropdown menu, click on Add…. In the opening dialog fill in at least one of the following additional Update Sites (if not already present):
Recommended:
Name: KNIME Community Contributions (Stable)
Location: http://update.knime.org/community-contributions/trusted/5.2.0
Unstable:
Name: KNIME Nightly Community Contributions (trunk)
Location: http://update.knime.org/community-contributions/trunk
OpenMS-internal, unstable:
Name: OpenMS nightly update site
Location: https://abibuilder.cs.uni-tuebingen.de/archive/openms/knime-plugin/updateSite/nightly/
Use the search or navigate to KNIME Community Contributions – Bioinformatics & NGS and select OpenMS. Then click Next and follow the installation instructions. A restart of KNIME might be necessary afterward. On Windows, if prompted to install additional requirements like the Microsoft Visual Studio Redistributable for the conversion software ProteoWizard that is packaged with our plugin.
After a restart of KNIME the OpenMS nodes will be available in your Node Repository (panel on the lower left) under Community Nodes.