macOS
Install via Conda
Warning
At this time, we do not provide a conda package for our GUI tools. This means if you want to install e.g., TOPPView for use in for example one of our tutorials, please refer to a different installation method below.
You can use conda or mamba to install the OpenMS library and tools without user interface. Depending on the conda channel, you can
obtain release versions (bioconda channel) and nightly versions (openms channel).
Follow the instructions to install conda or mamba. In the following, every mention of conda may be substituted by mamba for faster environment solving.
We recommend to create a new environment with one of the supported python version versions:
conda create -n openms python=3.10
Add some channels to find dependencies:
 conda config --add channels defaults
 conda config --add channels bioconda
 conda config --add channels conda-forge
Note
You can also add the channels for your current environment only with the
--envoption.Warning
The order of the channels is important!
Note
conda-forge might already be added if you are using Mambaforge.
Install any of the following packages related to OpenMS
openms contains all OpenMS C++ command-line tools. GUI applications like TOPPView currently cannot be installed via conda.
libopenms is the C++ library required for the OpenMS C++ Tools to work. This is also an auto-installed dependency of openms.
pyopenms is the python package that allows to use algorithms from libopenms in Python.
openms-thirdparty are external tools that are wrapped in OpenMS with adapters. This package is required to use the adapters in the openms package.
Warning
Due to unavailability of a large part of the thirdparty tools for macOS via conda, we are not providing a openms-thirdparty package on macOS either.
via
biocondafor release versionsconda install openms
conda install libopenms
conda install pyopenms
conda install openms-thirdparty
or our own
openmschannel for nightly snapshots (which are build based on the same bioconda dependencies)conda install -c openms openms
conda install -c openms libopenms
conda install -c openms pyopenms
conda install -c openms openms-thirdparty
Install via macOS installer
To install OpenMS on macOS, run the following steps:
Download and install the macOS drag-and-drop installer from the archive. 2.Double click on the downloaded file. It will start to open the
OpenMS-<version>-macOS.pkginstaller file.

Why This Warning Appears:
The warning indicates that the OpenMS installer hasn’t been notarized or recognized by Apple as being from an identified developer. This doesn’t necessarily mean the software is unsafe; it simply means that macOS cannot verify its source. support.apple.com
How to Proceed:
Bypassing Gatekeeper to Install OpenMS on macOS
A. Bypassing Gatekeeper Using System Settings
Open System Settings.
Navigate to Privacy & Security.
Under the Security section, locate the message about the blocked application.
Click the Open Anyway button .

B. Bypassing Gatekeeper Using Command-Line
For users comfortable with the command line, you can bypass the security warning using Terminal:
Open Terminal.
Navigate to the directory containing the installer using the
cdcommand:cd /path/to/installer
Run the following command to remove the quarantine attribute:
xattr -d com.apple.quarantine OpenMS-<version>-macOS.pkg
By following these steps, you’re instructing macOS to trust the OpenMS installer and allow its execution. Ensure that you’ve downloaded the installer from a trusted source (i.e., build archive of the Unversity of Tübingen or OpenMS’ GitHub artifacts) before proceeding.
Install OpenMS

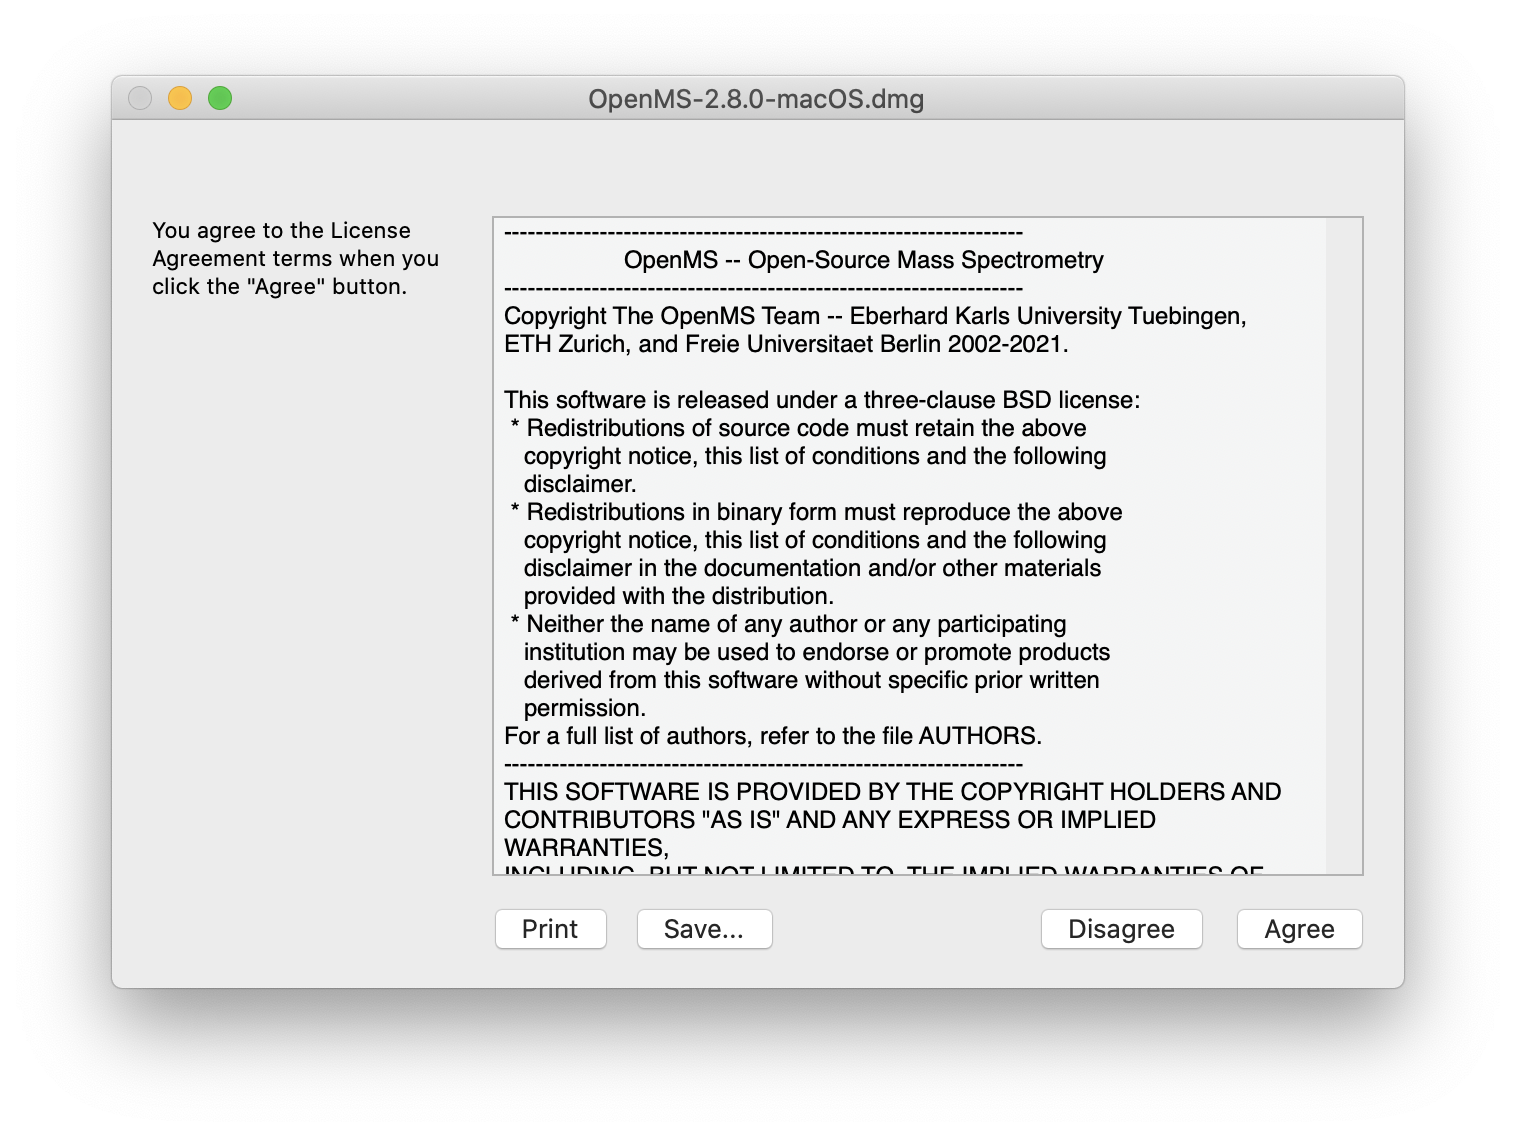
Agree to the license agreements.
Installation Confirmation
To use TOPP as regular app in the shell, add the following lines to the ~/.profile file.
Warning
Known Installer Issues
Nothing happens when you click OpenMS apps or the validity of the developer could not be confirmed.
This usually means the OpenMS software lands in quarantine even after installation of the
.pkg. This was more common with our older.dmgimage but may still happen. Since macOS Catalina (maybe also Mojave) all apps and executables have to be officially notarized by Apple but we currently do not have the resources for a streamlined notarization workflow.To have a streamlined experience without blocking popups, it is recommended to remove the quarantine flag manually, using the following steps:
Open the Terminal.app and type the following (replace the first line with the actual installation directory):
cd /Applications/OpenMS-<version>
sudo xattr -r -d com.apple.quarantine *
Bug with running Java based thirdparty tools like MSGFPlusAdapter and LuciphorAdapter from within TOPPAS.app
If you face issues while running Java based thirdparty tools from within TOPPAS.app, run the TOPPAS.app from within the Terminal.app (e.g. with the
opencommand) to get access to the path where Java is located. Java is usually present in thePATHof the terminal. Advanced users can set this path in theInfo.plistof/inside the TOPPAS.app.export OPENMS_TOPP_PATH=<OpenMS-PATH> source ${OPENMS_TOPP_PATH}/.TOPP_bash_profile
Make sure
<OpenMS-PATH>points to the folder where OpenMS is installed locally (e.g.,/Applications/OpenMS-<version>)
Run OpenMS inside a (Bio)Container
Install a containerization software (e.g., Docker or Singularity)
Pull an image from one of the following registries:
OpenMS GitHub Container Registry for nightly binaries AND releases:
On our registry, we provide one image for the library (with contrib) and one for the executables (with thirdparty).
They can be pulled/run via the following commands:
docker pull ghcr.io/openms/openms-library
docker pull ghcr.io/openms/openms-executables
singularity run ghcr.io/openms/openms-library-sif
singularity run ghcr.io/openms/openms-executables-sif
Note
Per default this results in the download of the latest nightly snapshot. Specify a release version (e.g.,
docker pull ghcr.io/openms/openms-library:3.5.0to receive a stable version.Otherwise, the BioContainers Registries and the associated Galaxy project provide native containers based on our bioconda packages for both Docker and Singularity.
Images of the containers can be pulled via or one of the following commands:
docker pull quay.io/biocontainers/libopenms
docker pull quay.io/biocontainers/openms
docker pull quay.io/biocontainers/pyopenms
docker pull quay.io/biocontainers/openms-thirdparty
singularity run https://depot.galaxyproject.org/singularity/libopenms
singularity run https://depot.galaxyproject.org/singularity/openms
singularity run https://depot.galaxyproject.org/singularity/pyopenms
singularity run https://depot.galaxyproject.org/singularity/openms-thirdparty
Note
If Singularity images fail to download or run, try to use the Docker images as Singularity will automatically convert them.
Dockerfiles to build different kind of images (e.g., for ArchLinux) yourself can be found on GitHub in our OpenMS/dockerfiles repository. They usually follow our build instructions closely, so you can have a look on how this is done in a clean environment.
Reading Thermo Fisher RAW files
OpenMS reads Thermo Fisher .raw files natively through the openms-thermo-bridge, which is
enabled by default in the release binaries. This requires a .NET 8 runtime to be
present at run time so that the managed bridge libraries can be loaded.
Install it from the .NET download page, or with Homebrew:
brew install dotnet
If .NET is installed to a non-standard location, point the DOTNET_ROOT environment variable
at the install directory — the folder that contains the dotnet host and the shared/
sub-directory — so the bridge can locate the runtime. Homebrew keeps the runtime under its
libexec directory, while the official installer uses /usr/local/share/dotnet:
# Homebrew (the path reported by `brew info dotnet`)
export DOTNET_ROOT="$(brew --prefix)/opt/dotnet/libexec"
# or, for the official .NET installer:
# export DOTNET_ROOT=/usr/local/share/dotnet
Build OpenMS from source
To build OpenMS from source, follow the build instructions for macOS.
OpenMP / SIMD on macOS
OpenMS uses #pragma omp simd directives to enable SIMD vectorization in
performance-critical loops. Apple’s stock Clang does not ship the OpenMP
runtime library, so by default OpenMS automatically falls back to the
-fopenmp-simd compiler flag — SIMD pragmas vectorize, but #pragma omp parallel
regions do not. No extra installation is required for SIMD support.
To get full OpenMP (parallel regions) on macOS, install Homebrew’s libomp and point CMake at it:
brew install libomp
cmake -DOpenMP_ROOT=$(brew --prefix libomp) [other cmake options]
To skip OpenMP entirely, pass:
cmake -DMT_ENABLE_OPENMP=OFF [other cmake options]
This disables both OpenMP parallel regions and the -fopenmp-simd fallback. The #pragma omp simd directives in the source remain but have no effect on the generated code; cmake/compiler_flags.cmake silences the warning that would otherwise fire by passing -Wno-source-uses-openmp to Apple Clang (and -Wno-unknown-pragmas to GCC).